Word Tips: Using Images in Word
How often do you use images in Microsoft Word? Images can be very helpful – from writing notes for a presentation to explaining a concept to a client. If you have never tried inserting a picture into Word, take a look at the different methods outlined in the following sections. You may be surprised how well a few images can spice up your documents.
Drag-and-Drop Images:
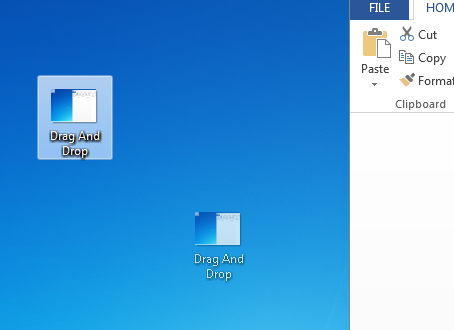 A great and simple feature is drag-and-drop. The picture is embedded within the document itself, and by default the image will stay with the text around it. Word also allows you to resize the image by using the sizing handles (small circles or squares surrounding the image). To keep the same proportions when resizing, hold down the shift key then use the sizing handles.
A possible drawback is that you may need to update the images often. It would be very inefficient to go through every document and replace the pictures. A way around this is to "link to file" instead of "insert." This means the image is not embedded within the document; rather, the document only contains a link to that image. And so, whenever the image is updated, Word will take note and make the update.
To do this, click "Insert" on the top navigation bar, and then click "Picture." Once you locate your picture, click the drop-down arrow next to "select," and choose "link to file." But be warned! Because the images are only being linked, if you move the location of the image, you will have to relink to that picture. So make sure all your images are displaying properly before starting a presentation!
Text-Wrapping:
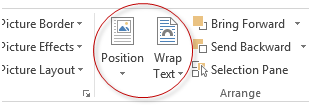
If you want to be a little more creative with the presentation, you can wrap text around an image. There are a few options. Click the image, and locate "Picture Tools." In the right-hand section you will find the "Position" and "Wrap Text" buttons. Under these tools, you can choose different styles of combining your text and image.
Remove Background:
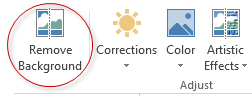
As a relatively new feature, more recent versions of Word can remove undesirable backgrounds from your images. In no way does it rival Abode Photoshop's background removal tools, but it can be a quick way to get a more defined or focused image. Click on your picture, and find "Picture Tools" in the top navigation bar. At the very left you should see the "Remove Background" button. Use the resizing handles and markers to customize what to keep and discard.
Insert Screenshot:
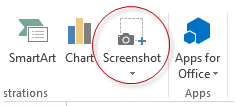
The Insert Screenshot tool can be extremely useful and time-saving. Click the "Insert" tab on the main navigation bar, and locate the "Screenshot" button. From there you can select a window to insert directly into the document. But it gets better! If you click "Screen Clipping" in the drop-down, Word allows you to select a certain portion of your window to insert into Word. If you find yourself taking your own screenshots in one step and inserting the screenshots in another step, this combination method will save you a lot of time.
These are only a few key highlights of the many image features that Word offers. If you ever feel as if you are spending too much time trying to get something done in Word, there may be a faster way to do it! Send in your questions to Igniting Business, and we will be happy to help.
